 First comes love, then comes marriage… then comes the sending of “thank you” cards for all the lovely wedding gifts!
DIY weddings are increasingly popular, especially now that the Pinterest craze is catching on.
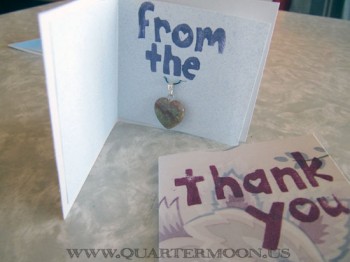
Just in time for June wedding season, this tutorial will show you how to make do-it-yourself “thank you” cards using recycled wrapping paper from your wedding gifts. And this card includes a little something extra… a heart-shaped pendant inside, a little return gift to say “thank you from the heart.”
Not just for weddings, these “thank you” cards can be designed to fit any occasion – birthdays, anniversaries, or just because.
If you don’t want to make them yourself, you can buy these “thank you” cards pre-made from my Etsy shop, available in singles or packs of four. Designs vary with availability, and can be personalized for a little extra.
 |
Collect Wrapping Paper
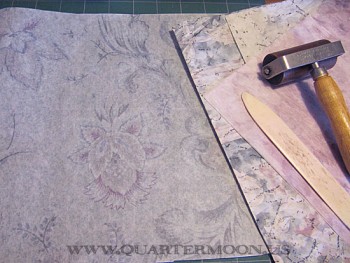
First, collect the wrapping paper you want to use. Any kind of wrapping paper will work, but I prefer to use tissue paper. It clings nicely to cardstock, making it look like a printed card.
For an extra personal touch on your wedding gift thank you cards, reuse the wrapping paper wedding gifts. Your recipient will love it – obviously, because they picked out the paper to begin with! Be sure to unwrap your gifts carefully if you plan to do this.
To smooth out really wrinkled wrapping paper, place the sheet between two sheets of parchment paper, and press with an iron on low setting. |
 |
Adhere to Card Stock
Gather the card stock you are going to use. You can use any kind of heavy paper, as long as it’s thick enough to be rigid, and light enough to fold. Large, blank index cards are good, or business card stock from an office supply store.
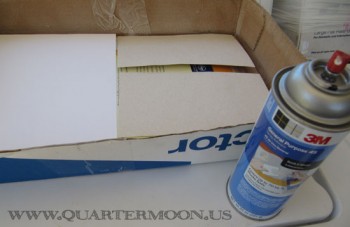
Place a few sheets of the card stock on a protective surface, and lightly mist with spray adhesive.
I find it’s best to do a few sheets at a time, so you can smooth out the wrinkles while the adhesive is still somewhat tacky.
|
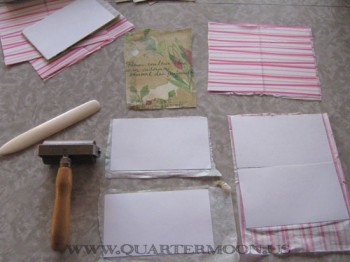 |
Carefully lay each piece of card stock adhesive-side down onto the back side of the wrapping paper.Flip the card over so the wrapping paper is on the top, and smooth out the wrinkles.Use a brayer (roller), or a bone folding and scoring tool, or both. Work in firm, even strokes, from the center to the outside edges.
Don’t worry if you don’t get all the wrinkles out. Get as many as you can, you can take care of smaller wrinkles later, after the cards are cut. |
 |
Smooth Out the Wrinkles
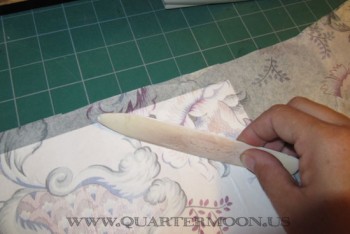
I prefer to use the bone tool to smooth out the most stubborn wrinkles. Tissue paper looks like it is printed right onto the card stock.Smaller pieces of card stock, like index cards, are a bit easier to smooth out.
The type of spray adhesive you use will also affect how well the paper smooths out. Adhesive with an extended drying time, or repositionable adhesive for scrapbooking, will give the best results.
|
 |
Trim Cards
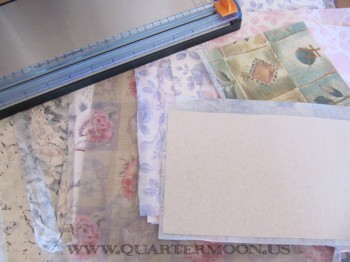
Trim your cards down to size. Cards should be 5″ wide and 2.5″ tall. Click here to download a template.Bonus: he leftover trimmings can be cut into matching gift tags, or may be used for other paper projects. |
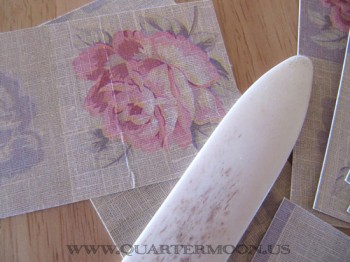 |
After your cards are trimmed, use the bone tool to smooth out any remaining wrinkles, again moving from the center toward the outside edges.Fold the cards in half, using the bone tool to sharpen the crease.
|
 |
Stamp ‘Em Up!
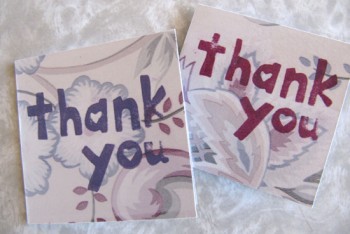
Using your favorite “thank you” rubber stamp, and a matching ink color, stamp the image onto the front of your cards and let dry.I bought these adorable stamps from the Etsy store Creatiate. I love how they put hearts inside the letters! |
Continue reading →
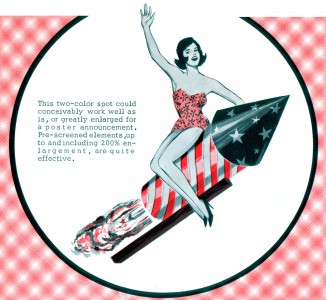 Hey baby, it’s the Fourth of July! “Free Clip Art Friday” comes early this month, featuring some great July 4th retro clip art from 1961. I love how both the cookout clips show the husband holding the kebob an the wife holding the drinks.


